


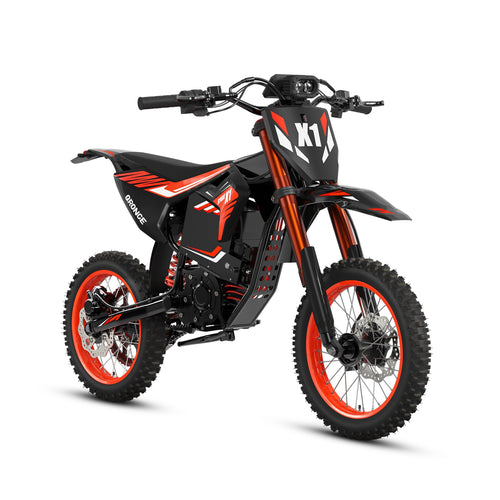
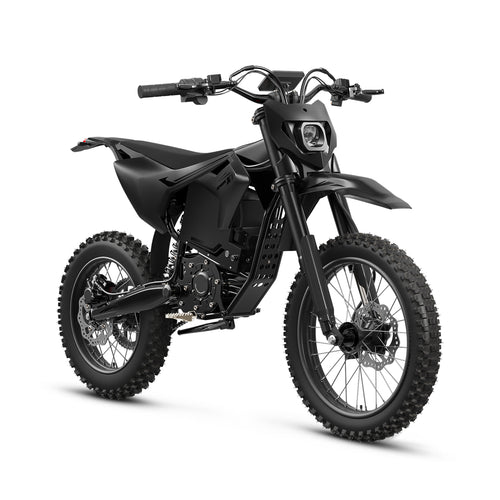
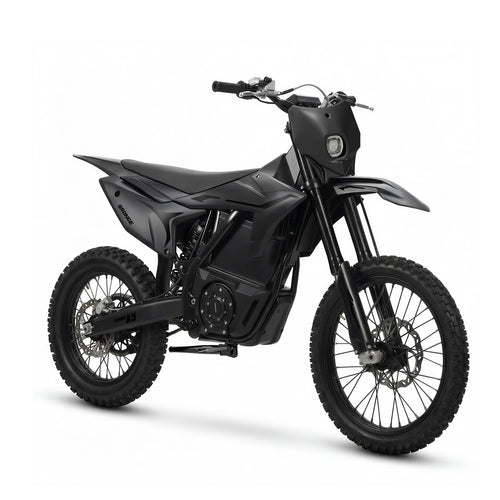
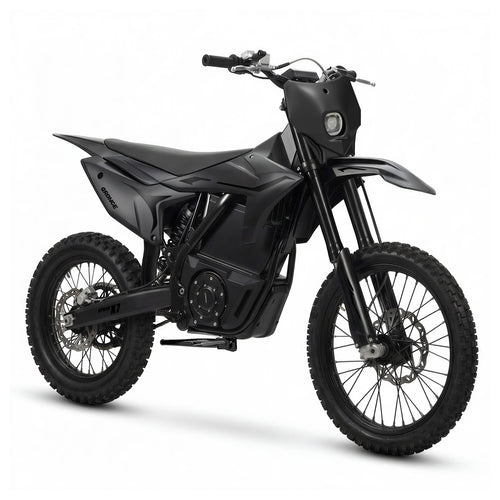

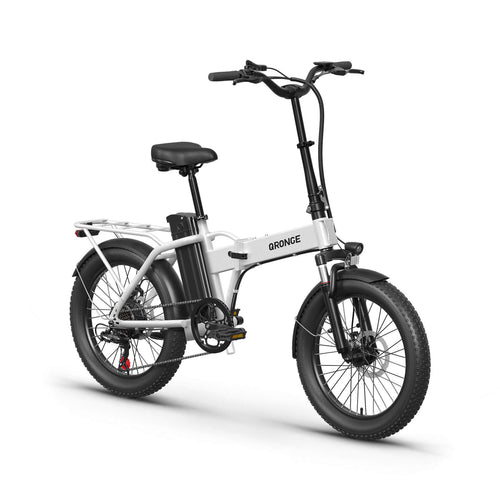
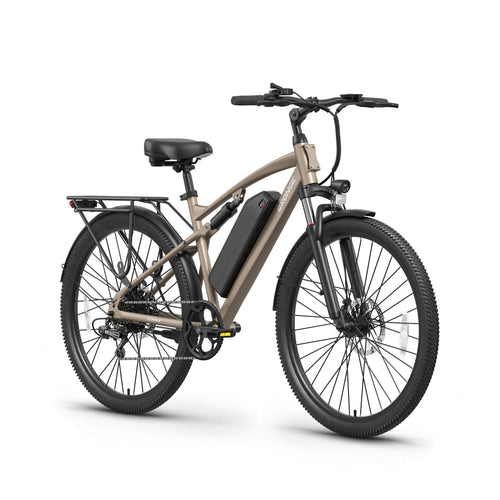

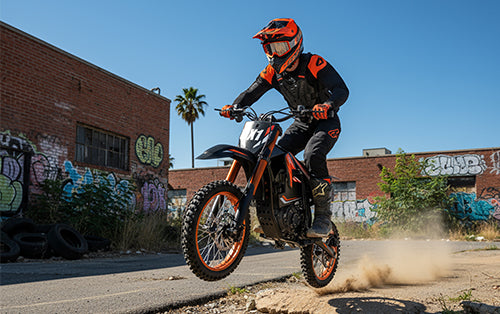
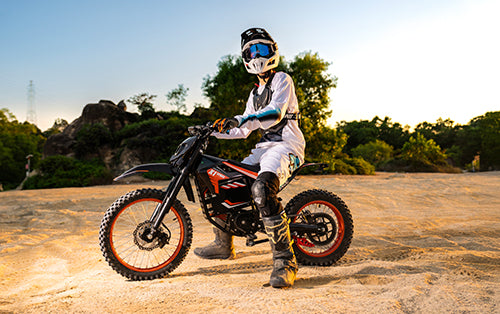
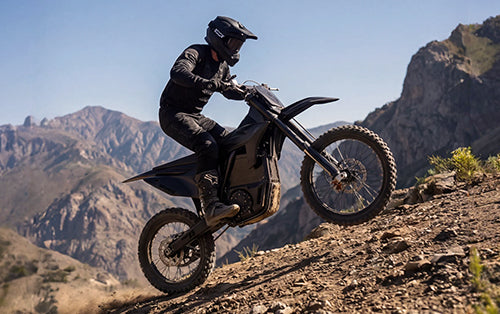
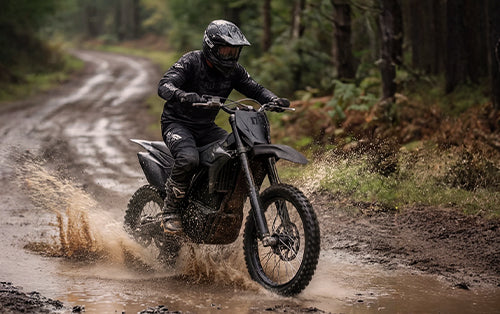
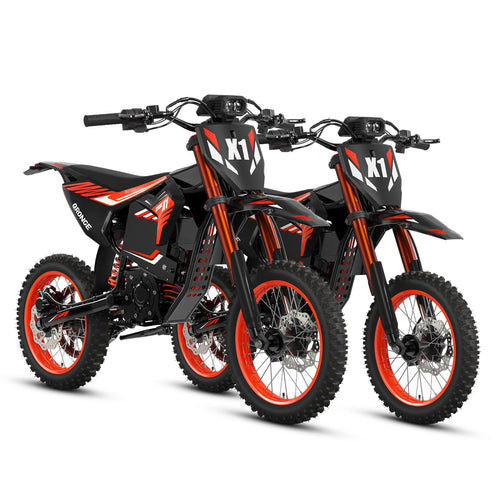
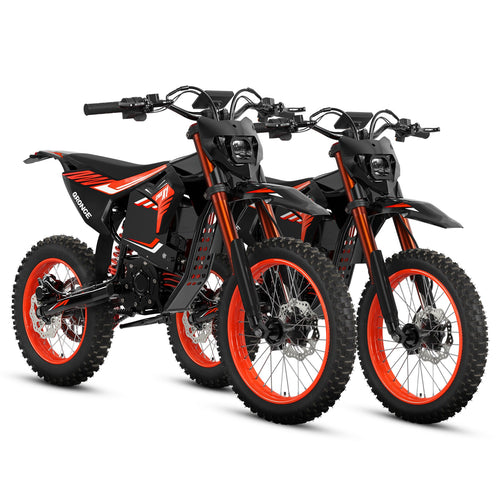

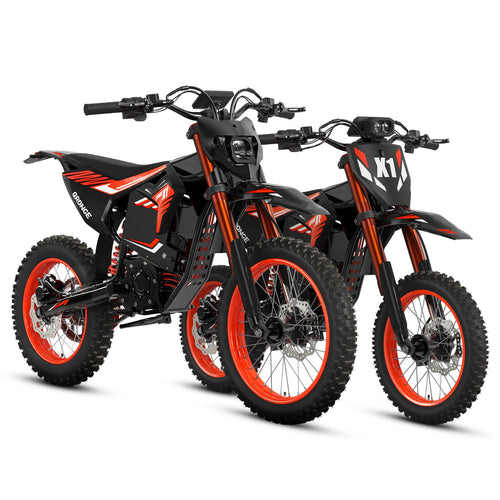


When riders first get an electric dirt bike, many want to turn it on and experience the power right away. However, after shipping, assembly, and storage, the tire pressure, battery mounting, handlebar position, and some fasteners may need to be checked again.
This is especially important before the first ride, when the rider is still unfamiliar with the bike’s throttle response, braking force, and center of gravity. Completing an electric dirt bike pre-ride inspection can help identify loose parts, poor connections, or control issues while helping the rider become familiar with the bike more quickly.
Before the first ride, focus on checking the battery, tires, brakes, chain, handlebars, suspension, throttle, riding gear, and route conditions. Follow the order of “inspect with the power off, test after powering on, and finish with a low-speed test ride.” The process usually takes only a few minutes.
Why Is a Pre-Ride Inspection More Important Before the First Ride?
A new bike being fully assembled does not mean it is ready to go straight onto trails or off-road terrain.
Vibration during shipping may affect the handlebars, footpegs, fenders, and other mounted parts, while tire pressure may also change during storage. For an electric dirt bike, whether the battery is fully installed, the connectors are clean, and the throttle returns smoothly can also directly affect the first riding experience.
The first inspection also helps the rider become familiar with the bike. Before entering gravel roads, trails, or slopes, the rider should understand the feedback from the front and rear brakes, the differences between the riding modes, and how the bike steers and stops at low speed.
Do Not Turn on the Power Yet—Walk Around the Bike First
Before starting the inspection, keep the bike powered off and place it on level, open ground.
Walk around the bike from front to rear and check that the frame, body panels, fenders, and seat do not have obvious cracks, deformation, or unusual looseness. Gently move the handlebars, footpegs, and seat to confirm that they are securely mounted.
Also check whether any wiring is pinched by the frame or body panels, and look for wear, exposed damage, or excessive tension. When the handlebars are turned from side to side, the wiring should move naturally without being pulled tight.
If any critical fasteners are missing, the wiring is damaged, or a part is clearly loose, address the issue before turning on the bike or taking a test ride.
Confirm That the Battery Is Installed Correctly
The battery should not only have enough charge, but also be fully seated in its mounting position.
Check that the battery latch or mounting system is locked, then gently push the battery to make sure it does not move noticeably. The battery connectors and charging port should stay dry and clean, with no dirt, moisture, or other debris, and the charging-port cover should be fully closed.
The battery does not have to be at 100% for the first test ride, but it should have enough charge for the test ride and the return trip. If the battery cannot be secured, the connector is damaged, or there is already an unusual smell or excessive heat before powering on, do not continue using the bike.
Further Reading: Want to learn more about why the battery, charger, and charging port may heat up? Read “Is It Normal for an Electric Dirt Bike to Get Warm While Charging? Battery, Charger, and Charging Port Safety Checks.”
Check Tire Pressure and Tread Condition
Tires directly affect traction, steering, and braking, making them an essential part of any electric dirt bike safety checklist.
Check the front and rear tire pressure when the tires are cold, and refer to the specifications for the model or the markings on the tires. Tire pressure requirements can vary depending on tire size, rider weight, and off-road terrain, so do not apply the settings from another model.
Inspect the tread and sidewalls for nails, sharp stones, cracks, bulges, or visible cuts. Slowly rotate each wheel and check whether the rim has any noticeable wobble or whether the tire continues to rub against the frame or brake components.
A tire that still “has air” is not necessarily in good condition. Before riding on gravel, mud, or slopes, make sure the tire pressure and tire surface are free of problems.
Test the Front and Rear Brakes Separately
With the power off, operate the front and rear brakes separately and feel the resistance in each brake lever. The levers should provide clear feedback and should not feel too soft, sticky, or pull easily all the way to the handlebar.
Next, push the bike and test the front and rear brakes one at a time. When the front brake is applied, the front wheel should slow down or stop normally. When the rear brake is tested, the rear wheel should also provide noticeable braking force.
At the same time, check whether the brake rotors are bent and whether any is leaking around the brake lines or connection points. A light, even rubbing sound does not always indicate a problem, but if the wheel is difficult to turn, braking force is clearly insufficient, or the brake lever feels abnormal, the bike should not be test-ridden.
Check the Chain and Drivetrain
A chain that is too loose may bounce or even come off on rough terrain, while a chain that is too tight can place extra strain on the drivetrain.
Check the chain for noticeable sag, dryness, rust, or stiff links. When the rear wheel is turned slowly, the chain should move smoothly without suddenly tightening, jumping excessively, or making obvious metallic impact sounds.
Also inspect the sprocket teeth for bending, breakage, or severe wear. Chain tension specifications vary by model, so if you notice a problem, refer to the instructions for the specific bike instead of adjusting it based only on feel.
Make Sure the Handlebars, Steering, and Suspension Are Secure
Stand in front of the bike and check whether the handlebars and front wheel are roughly aligned. When turning the handlebars from side to side, the steering should move smoothly without sticking, making unusual noises, or feeling noticeably tighter on one side.
The grips, brake levers, display, and control switches should also remain secure. Hold the front brake and rock the bike forward and backward. If there is noticeable movement or a knocking sensation at the front end, check the steering and front wheel mounting before riding.
Next, inspect the front fork and rear shock for oil marks or leaks. Gently press down on the handlebars and seat. The suspension should compress smoothly and return naturally. The front and rear wheels should not have noticeable side-to-side movement.
These checks do not require taking the bike apart. The goal is to identify any visible or clearly felt problems.
Check the Display, Controls, and Throttle After Powering On
After completing the checks with the power off, make sure there are no people or obstacles around the bike before turning it on.
Confirm that the display starts normally and that the battery level, riding mode, and bike status appear correctly. Check that the power switch, mode selector, and stop switch work properly. If the display continues to show an error code or flashes abnormally, do not keep twisting the throttle in an attempt to solve the issue.
The throttle should first be tested with the power off. Twist it gently and release it. It should return to its original position quickly and smoothly. Turn the handlebars fully to both sides and test again to make sure the throttle does not stick because of changes in the wiring position.
After powering on, only perform a light, brief check of the power response. Do not twist the throttle aggressively when the bike is not securely supported, and do not let the bike run in place for an extended period.
Do Not Use the Highest Power Mode on the First Test Ride
After completing the static checks, choose a milder power mode and test the bike in a flat, open area without obstacles.
Begin with a low-speed straight-line ride to feel the throttle response, the bike’s center of gravity, and the strength of the front and rear brakes. Then try slow turns, stopping, and starting again. Once you confirm that the bike does not pull to one side, rub abnormally, lose power, or make obvious unusual noises, gradually increase your speed.
Electric dirt bikes can deliver power quickly. Even riders with bicycle or traditional motorcycle experience need time to adjust to this type of throttle response.
For a first electric dirt bike ride, the goal of the first test ride is not to test the top speed, but to make sure you can control the bike steadily.

Check Your Riding Gear and Route Conditions
Once the bike has passed the inspection, make sure your riding gear and route are also appropriate.
Riders should wear an off-road helmet, goggles, gloves, and riding boots that protect the ankles, along with knee pads, elbow pads, or body armor based on the route. Secure loose shoelaces and clothing so they do not get near the chain or wheels.
For the first ride, choose a flat, open, and permitted area. Avoid steep slopes, deep mud, sand, water crossings, or heavily rutted routes. Rules for electric dirt bikes may vary between forests, campgrounds, and private properties, so confirm them before setting out.
What Problems Mean You Should Not Keep Riding?
Do not continue the test ride if the throttle does not return smoothly, the brakes provide clearly insufficient stopping power, the battery cannot be locked securely, or the handlebars, footpegs, or wheels are noticeably loose.
A tire that keeps losing air, a bulging sidewall, a severely loose chain, or a display that continues to show an error also needs to be addressed first.
If the battery, connectors, or wiring produce a burning smell, smoke, unusual sounds, or obvious heat, turn off the power immediately and place the bike in a safe, well-ventilated area. Do not charge or power it on again until the cause has been identified.
Inspect the Bike Again After the First Short Test Ride
After completing the first low-speed, short-distance test ride, stop the bike, turn off the power, and quickly recheck the battery mounting, tires, brakes, chain, handlebars, and main connection points.
Look for any new looseness, unusual noises, rubbing marks, or abnormal heat. Some problems are not obvious while the bike is stationary and only become easier to notice after a short ride.
You can follow this same simple process before future rides. Check the overall condition first, inspect the key components, and finish with a low-speed test. This takes less time than dealing with a problem after it appears.


